Building and maintaining your own website is a great idea. Not only do you own your platform, but you get to experiment with web technologies along the way. Recently, I dug into a concept called serverless functions, starting with my own website. I’d like to share the results and what I learned along the way, so you can get your hands dirty, too!
But first, a 1-minute intro to serverless functions
A serverless function (sometimes called a lambda function or cloud function) is a piece of code that you can write, host, and run independently of your website, app, or any other code. Despite the name, serverless functions do, indeed, run on a server; but it’s a server you don’t have to build or maintain. Serverless functions are exciting because they take a lot of the legwork out of making powerful, scalable, apps.
There’s lots of great information on serverless functions out there, and a great place to start is CSS Trick’s own guide: The Power of Serverless Front-End Developers.
The Challenge: Build a Mailing List Sign Up Form
I started my journey with a challenge: I wanted to have an email list sign-up form on my site. The rules are as follows:
- It should work without JavaScript. I’d like to see how much I can get by with just CSS and HTML. Progressive enhancements are OK.
- It shouldn’t require external dependencies. This is a learning project, so I want to write 100% of the code if possible.
- It should use serverless functions. Instead of sending data to my email list service client-side, let’s do it server(less)-side!
Meet the team: 11ty, Netlify, and Buttondown
My website is built using a static site framework called 11ty. 11ty allows me to write templates and components in HTML, so that’s how we’ll build our email form. (Chris recently wrote a great article about his experience with 11ty if you’re interested in learning more.)
The website is then deployed using a service called Netlify) and it is the key player on our team here: the point guard, the quarterback, the captain. That’s because Netlify has three features that work together to produce serverless excellence:
- Netlify can deploy automatically from a GitHub repo. This means I can write my code, create a pull request, and instantly see if my code works. While there are tools to test serverless functions locally, Netlify makes it super easy to test live.
- Netlify Forms handles any form submissions my site gets. This is one part of the serverless equation: instead of writing code to collect submissions, I’ll configure the HTML with a few simple attributes and let Netlify handle the rest.
- Netlify Functions allows me to take action with the data from my forms. I’ll write some code to send emails off to my email list provider, and tell Netlify when to run that code.
Finally, I’ll manage my email list with a service called Buttondown. It’s a no-frills email newsletter provider, with an easy-to-use API.
Bonus: for personal sites like mine, 11ty, Netlify, and Buttondown are free. You can’t beat that.
The form
The HTML for my email subscription form is very minimal, with a few extras for Netlify Forms to work.
<form class="email-form" name="newsletter" method="POST" data-netlify="true" netlify-honeypot="bot-field">
  <div hidden aria-hidden="true">
    <label>
      Don’t fill this out if you're human:
      <input name="bot-field" />
    </label>
  </div>
  <label for="email">Your email address</label>
  <div>
    <input type="email" name="email" placeholder="Email"  id="email" required />
    <button type="submit">Subscribe</button>
  </div>
</form>
First, I set the data-netlify attribute to true to tell Netlify to handle this form.
The first input in the form is named bot-field. This tricks robots into revealing themselves: I tell Netlify to watch for any suspicious submissions by setting the netlify-honeypot attribute to bot-field. I then hide the field from humans using the html hidden and aria-hidden values — users with and without assistive technology won’t be able to fill out the fake input.
If the form gets submitted with anything in the bot-field input, Netlify knows it’s coming from a robot, and ignores the input. In addition to this layer of protection, Netlify automatically filters suspicious submissions with Askimet. I don’t have to worry about spam!
The next input in the form is named email. This is where the email address goes! I’ve specified the input-type as email, and indicated that is required; this means that the browser will do all my validation for me, and won’t let users submit anything other than a valid email address.

Progressive enhancement with JavaScript
One neat feature of Netlify Forms is the ability to automatically redirect users to a “thank you” page when they submit a form. But ideally, I’d like to keep my users on the page. I wrote a short function to submit the form without a redirect.
const processForm = form => {
const data = new FormData(form)
data.append('form-name', 'newsletter');
fetch('/', {
method: 'POST',
body: data,
})
.then(() => {
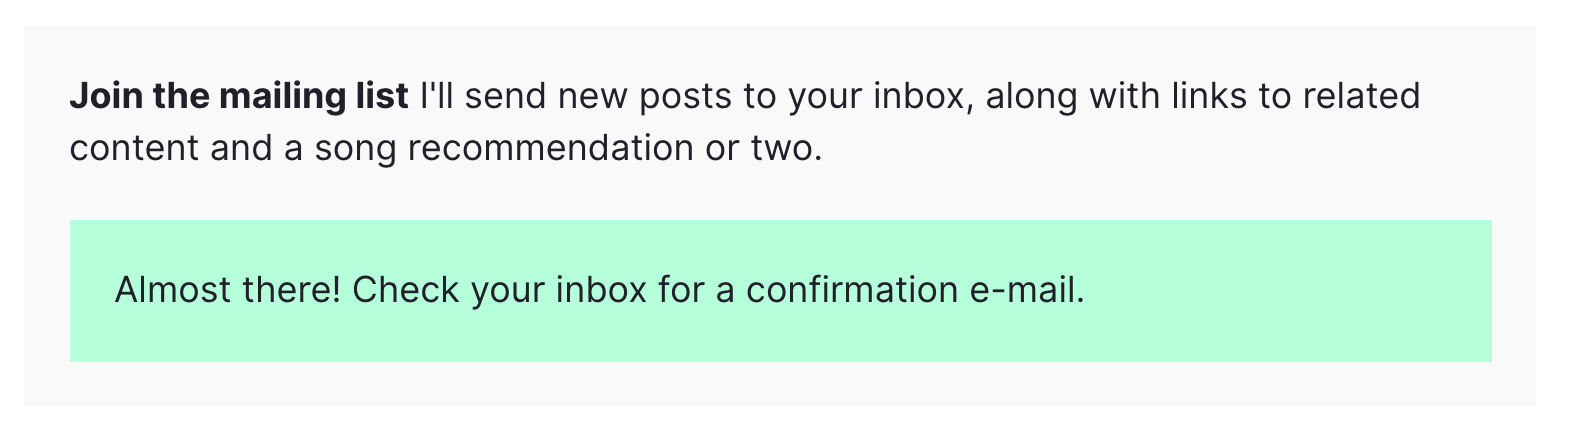
form.innerHTML = `<div class="form--success">Almost there! Check your inbox for a confirmation e-mail.</div>`;
})
.catch(error => {
form.innerHTML = `<div class="form--error">Error: ${error}</div>`;
})
}When I provide the content of my email form to this function via the form value, it submits the form using JavaScript’s built-in Fetch API. If the function was successful, it shows a pleasant message to the user. If the function hits a snag, it’ll tell my users that something went wrong.
This function is called whenever a user clicks the “submit” button on the form:
const emailForm = document.querySelector('.email-form')
if (emailForm) {
  emailForm.addEventListener('submit', e => {
    e.preventDefault();
    processForm(emailForm);
  })
}
This listener progressively enhances the default behavior of the form. This means that if the user has JavaScript disabled, the form still works!
The serverless function
Now that we have a working email submission form, it’s time to do some automation with a serverless function.
The way Netlify functions work is as follows:
- Write the function in a JavaScript file in your project.
- Tell Netlify where to look for your function via the netlify.toml file in your project.
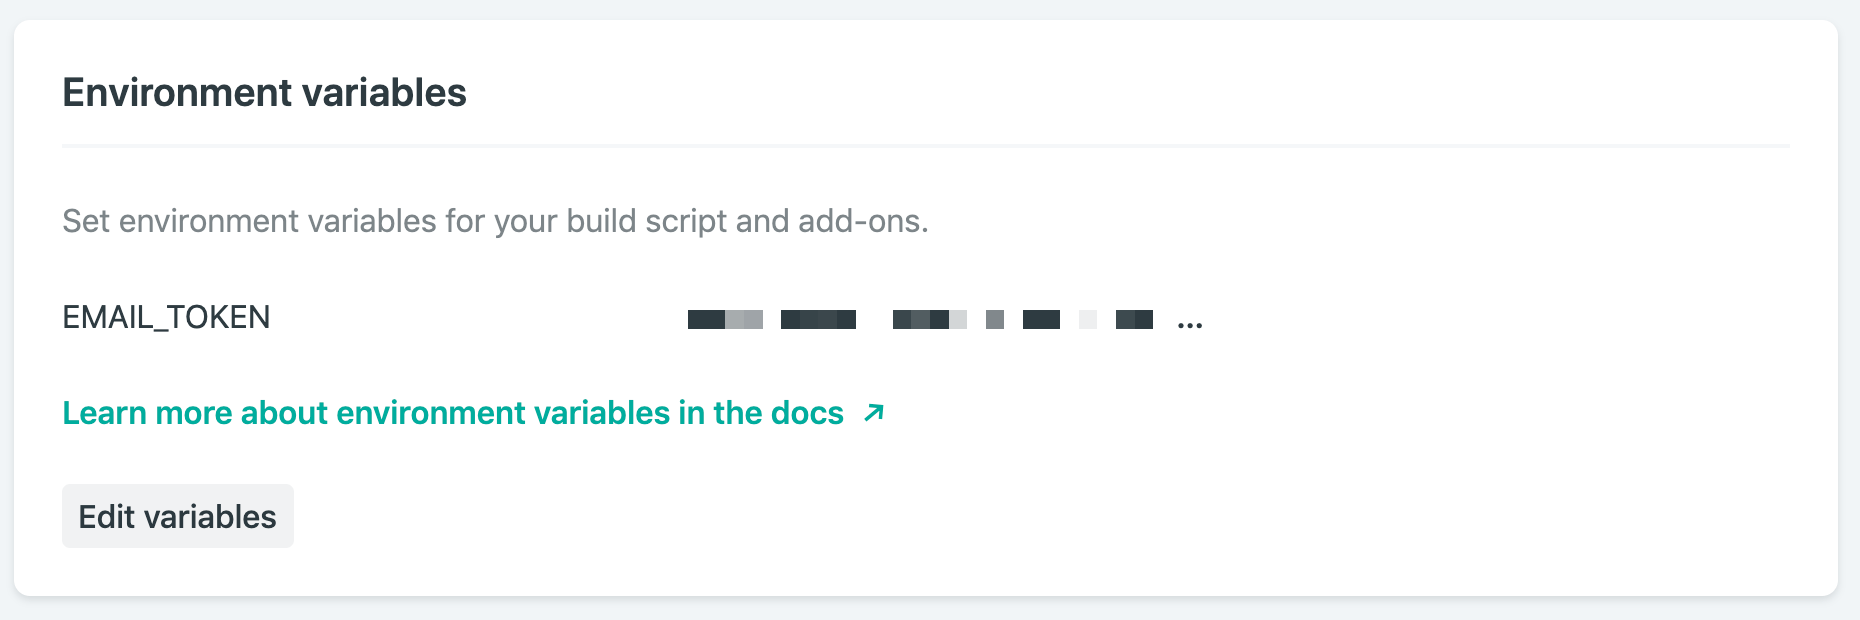
- Add any environment variables you’ll need via Netlify’s admin interface. An environment variable is something like an API key that you need to keep secret.
That’s it! The next time you deploy your site, the function will be ready to go.
The function for my site is going to be in the functions folder, so I have the following in my netlify.toml file:
[build]
base = "."
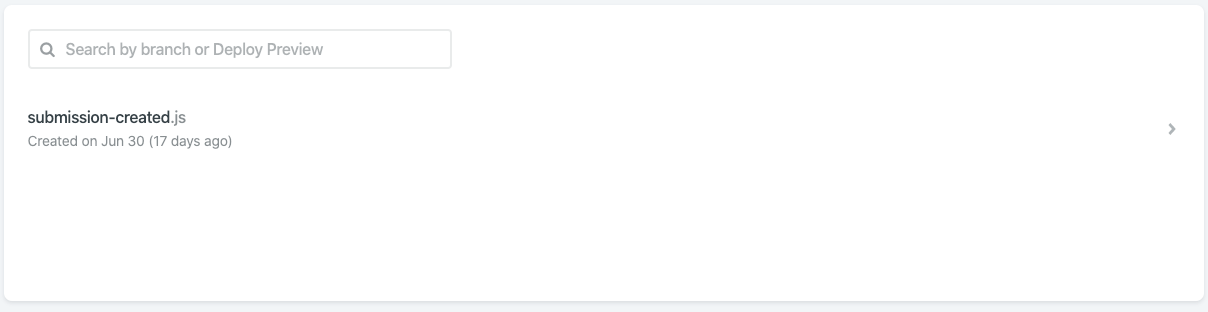
functions = "./functions"Then, I’ll add a file in the functions folder called submission-created.js. It’s important to name the file submission-created so that Netlify knows to run it every time a new form submission occurs. A full list of events you can script against can be found in Netlify’s documentation. If you’ve correctly named and configured your function, you should see it on Netlify’s Functions dashboard:
The content in submission-created.js looks like this:
require('dotenv').config()
const fetch = require('node-fetch')
const { EMAIL_TOKEN } = process.env
exports.handler = async event => {
  const email = JSON.parse(event.body).payload.email
  console.log(`Recieved a submission: ${email}`)
  return fetch('https://api.buttondown.email/v1/subscribers', {
    method: 'POST',
    headers: {
      Authorization: `Token ${EMAIL_TOKEN}`,
      'Content-Type': 'application/json',
    },
    body: JSON.stringify({ email }),
  })
    .then(response => response.json())
    .then(data => {
      console.log(`Submitted to Buttondown:\n ${data}`)
    })
    .catch(error => ({ statusCode: 422, body: String(error) }))
}
Let’s look at this line-by-line.
Line 1 includes a library called dotenv. This will help me use environment variables. Environment variables are useful to hold information that I don’t want to make public, like an API key. If I’m running my project locally, I set my environment variables with a .env file in the repo, and make sure it’s listed my .gitignore file. In order to deploy on Netlify, I also set up environment variables in Netlify’s web interface.
On line 2, I add a small library called node-fetch. This allows me to use Javascript’s Fetch API in node, which is how we’ll send data to Buttondown. Netlify automatically includes this dependency, as long as it’s listed in my project’s package.json file.
On line 3, I import my API key from the environment variables object, process.env.
Line 4 is where the function is defined. The exports.handler value is where Netlify expects to find our function, so we define it there. The only input we’ll need is the event value, which will contain all of the data from the form submission.
After retrieving the email address from the event value using JSON.parse, I’m ready to send it off to Buttondown. Here’s where I use the node-fetch library I imported earlier: I send a POST request to https://api.buttondown.email/v1/subscribers, including my API key in the header. Buttondown’s API doesn’t have many features, so it doesn’t take long to read through the documentation if you’d like to learn more.
The body of my POST request consists of the email address we retrieved.
Then (using the neat .then() syntax), I collect the response from Buttondown’s server. I do this so I can diagnose any issues that are happening with the process — Netlify makes it easy to check your function’s logs, so use console.log often!

Deploying the function
Now that I’ve written my function, configured my netlify.toml file, and added my environment variables, everything is ready to go. Deploying is painless: just set up Netlify’s GitHub integration, and your function will be deployed when your project is pushed.
Netlify projects can also be tested locally using Netlify Dev. Depending on the complexity of your code, it can be faster to develop locally: just run npm i netlify -g, then netlify dev. Netlify Dev will use the netlify.toml file to configure and run the project locally, including any serverless functions. Neat, right? One caveat: Netlify Dev currently can’t trigger serverless functions on form submissions, so you’ll have to test that using preview builds.
An idea for the future
Buttondown’s API has a few possible responses when I submit a new email. For instance, if a user submits an email that’s already subscribed to the list, I’d love to be able to tell them as soon as they submit the form.
Conclusion
All in all, I only had to write about 50 lines of code to have a functional email newsletter sign-up form available on my website. I wrote it all in HTML, CSS, and JavaScript, without having to fret with the server side of the equation. The form handles spam, and my readers get a nice experience whether they have JavaScript enabled or not.

actually it can :) we released
netlify functions:invokea few weeks ago: https://github.com/netlify/netlify-dev-plugin/#locally-testing-functions-with-netlify-functionsinvokePlease, explain, why the event listener still works if I disable JS?
Because the function runs on Netlify’s backend infrastructure (AWS). The form will submit a POST request to Netlify’s backend, triggering your function.
Can all of this be run on the free Netlify plan?
Yes, but it has a limit of 100 submissions/month. The next level costs $19/month, which is more expensive than eg. Formspree.
In fact, the next level costs $99/month with unlimited submissions.
The Pro Plan at $19/month as the same limit of 100 submissions / month :(
This article isn’t well explained. This focuses on netlify forms to function integration. Perhaps the full source would have helped.
The below article goes over every bit of information.
I would recommend https://dev.to/twilio/how-to-send-text-messages-from-your-static-site-using-netlify-twilio-and-serverless-functions-24ci
https://github.com/stefanjudis/8-bit-revolution/blob/master/dist/index.html