Among the many JavaScript APIs added in HTML5 was Drag and Drop (we’ll refer to it as DnD in this article) which brought native DnD support to the browser, making it easier for developers to implement this interactive feature into applications. The amazing thing that happens when features become easier to implement is that people start making all kinds of silly, impractical things with it, like the one we’re making today: a parking game!
DnD requires only a few things to work:
- Something to drag
- Somewhere to drop
- JavaScript event handlers on the target to tell the browser it can drop
We’re going to start by creating our draggables.
Dragging
Both <img> and <a>(with the href attribute set) elements are draggable by default. If you want to drag a different element, you’ll need to set the draggable attribute to true.
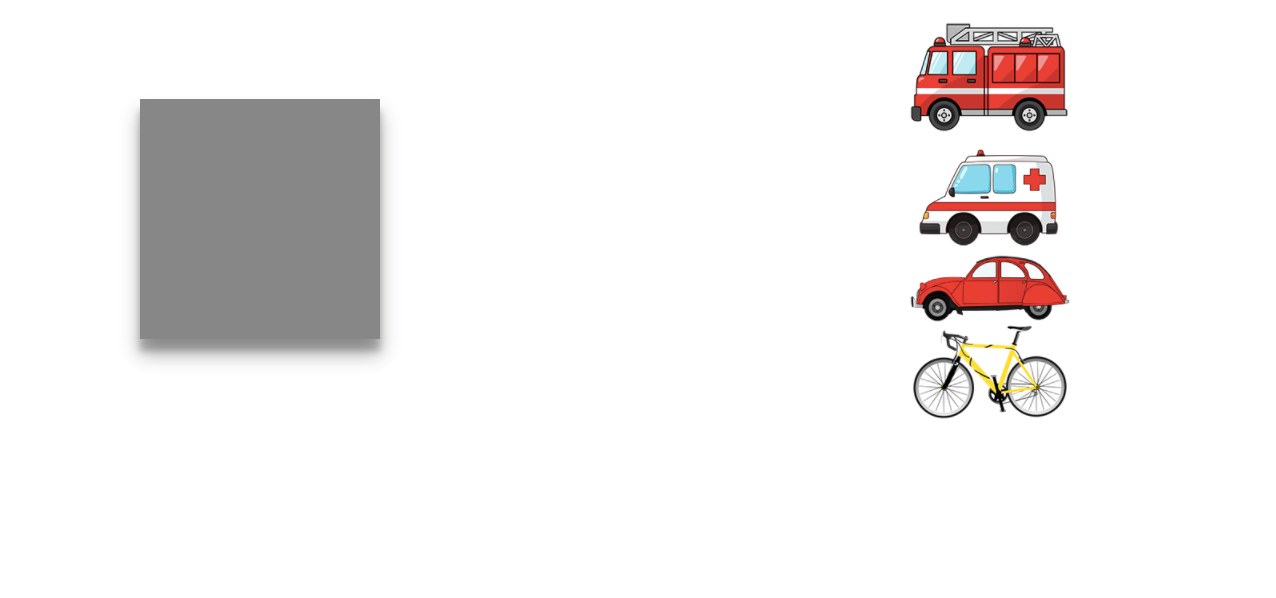
We’ll start with the HTML that sets up the images for our four vehicles: fire truck, ambulance, car and bicycle.
<ul class="vehicles">
  <li>
    <!-- Fire Truck -->
    <!-- <code>img<code> elements don't need a <code>draggable<code> attribute like other elements -->
    <img id="fire-truck" alt="fire truck" src="https://cdn.glitch.com/20f985bd-431d-4807-857b-e966e015c91b%2Ftruck-clip-art-fire-truck4.png?1519011787956"/>
  </li>
  <li>
    <!-- Ambulance -->
    <img id="ambulance" alt="ambulance" src="https://cdn.glitch.com/20f985bd-431d-4807-857b-e966e015c91b%2Fambulance5.png?1519011787610">
  </li>
  <li>
    <!-- Car -->
    <img id="car" alt="car" src="https://cdn.glitch.com/20f985bd-431d-4807-857b-e966e015c91b%2Fcar-20clip-20art-1311497037_Vector_Clipart.png?1519011788408">
  </li>
  <li>
    <!-- Bike -->
    <img id="bike" alt="bicycle" src="https://cdn.glitch.com/20f985bd-431d-4807-857b-e966e015c91b%2Fbicycle-20clip-20art-bicycle3.png?1519011787816">
  </li>
</ul>
Since images are draggable by default, you’ll see dragging any one of them creates a ghost image.

Just adding a draggable attribute to an element that’s not an image or link is really all you need to make an element draggable in most browsers. To make elements draggable in all browsers, you need to define some event handlers. They are also useful for adding extra functionality like a border if an element is being dragged around or a sound if it stops being dragged. For these, you’re going to need some drag event handlers, so let’s look at those.
Drag Events
There are three drag-related events you can listen for but we’re only going to use two: dragstart and dragend.
dragstart– Triggered as soon as we start dragging. This is where we can define the drag data and the drag effect.dragend– Triggered when a draggable element is dropped. This event is generally fired right after the drop zone’s drop event.
We’ll cover what the drag data and the drag effect is shortly.
let dragged; // Keeps track of what's being dragged - we'll use this later!

function onDragStart(event) {
  let target = event.target;
  if (target && target.nodeName === 'IMG') { // If target is an image
    dragged = target;
    event.dataTransfer.setData('text', target.id);
    event.dataTransfer.dropEffect = 'move';
    // Make it half transparent when it's being dragged
    event.target.style.opacity = .3;
  }
}

function onDragEnd(event) {
  if (event.target && event.target.nodeName === 'IMG') {
    // Reset the transparency
    event.target.style.opacity = ''; // Reset opacity when dragging ends
    dragged = null;
  }
}

// Adding event listeners
const vehicles = document.querySelector('.vehicles');
vehicles.addEventListener('dragstart', onDragStart);
vehicles.addEventListener('dragend', onDragEnd);
There are a couple of things happening in this code:
- We are defining the drag data. Each drag event has a property called
dataTransferthat stores the event’s data. You can use thesetData(type, data)method to add a dragged item to the drag data. We’re storing the dragged image’s ID as type'text'in line 7. - We’re storing the element being dragged in a global variable. I know, I know. Global is dangerous for scoping but here’s why we do it: although you can store the dragged item using
setData, you can’t retrieve it usingevent.dataTransfer.getData()in all browsers (except Firefox) because the drag data is protected mode. You can read more about it here. I wanted to mention defining the drag data just so you know about it. - We’re setting the
dropEffecttomove. ThedropEffectproperty is used to control the feedback the user is given during a drag and drop operation. For example, it changes which cursor the browser displays while dragging. There are three effects: copy, move and link.copy– Indicates that the data being dragged will be copied from its source to the drop location.move– Indicates that the data being dragged will be moved.link– Indicates that some form of relationship will be created between the source and drop locations.
Now we have draggable vehicles but nowhere to drop them:
See the Pen 1 – Can you park here? by Omayeli Arenyeka (@yelly) on CodePen.
Dropping
By default, when you drag an element, only form elements such as <input> will be able to accept it as a drop. We’re going to contain our “dropzone” in a <section> element, so we need to add drop event handlers so it can accept drops just like a form element.
First, since it’s an empty element we’re going to need to set a width, height and background color on it so we can see it on screen.
These are the parameters we have available for drop events:
dragenter– Triggered at the moment a draggable item enters a droppable area. At least 50% of the draggable element has to be inside the drop zone.dragover– The same asdragenterbut it is called repeatedly while the draggable item is within the drop zone.dragleave– Triggered once a draggable item has moved away from a drop zone.drop– Triggered when the draggable item has been released and the drop area agrees to accept the drop.
function onDragOver(event) {
  // Prevent default to allow drop
  event.preventDefault();
}

function onDragLeave(event) {
  event.target.style.background = '';
}

function onDragEnter(event) {
  const target = event.target;
  if (target) {
      event.preventDefault();
      // Set the dropEffect to move
      event.dataTransfer.dropEffect = 'move'
      target.style.background = '#1f904e';
  }
}

function onDrop(event) {
  const target = event.target;
  if ( target) {
    target.style.backgroundColor = '';
    event.preventDefault();
    // Get the id of the target and add the moved element to the target's DOM
    dragged.parentNode.removeChild(dragged);
    dragged.style.opacity = '';
    target.appendChild(dragged);
  }
}

const dropZone = document.querySelector('.drop-zone');
dropZone.addEventListener('drop', onDrop);
dropZone.addEventListener('dragenter', onDragEnter);
dropZone.addEventListener('dragleave', onDragLeave);
dropZone.addEventListener('dragover', onDragOver);
If you’re wondering why we keep calling event.preventDefault() it’s because by default the browser assumes any target is not a valid drop target. This isn’t true all the time for all browsers but it’s better to be safe than sorry! Calling preventDefault() on the dragenter, dragover and drop events, informs the browser that the current target is a valid drop target.
Now, we have a simple drag and drop application!
See the Pen 2 – Can you park here? by Omayeli Arenyeka (@yelly) on CodePen.
It’s fun, but not quite as frustrating as parking. We have to create some rules to make that happen.
Rules and Validation
I came up with some random parking rules, and I’d encourage you to create some of your own. Parking signs usually have days and times you can park as well as what types of vehicles are allowed to park at that moment in time. When we were creating our draggable objects, we had four vehicles: an ambulance, a fire truck, a regular car and a bicycle. So, we’re going to create rules for them.
- Ambulance parking only: Monday through Friday, 9pm to 3am.
- Fire truck parking only: All day during the weekend.
- Regular car parking: Monday through Friday, 3am to 3pm.
- Bicycle parking: Monday through Friday, 3pm to 9pm.
Now, we translate these rules to code. We’re going to be using two libraries to handle time and ranges: Moment and Moment-range.
The scripts are already available in Codepen to add to any new demo, but if you are developing outside of Codepen you can copy or link them up from here:
<script defer src="https://cdnjs.cloudflare.com/ajax/libs/moment.js/2.18.1/moment.js"></script>
<script defer src="https://cdnjs.cloudflare.com/ajax/libs/moment-range/3.1.1/moment-range.js"></script>
Then, we create an object to store all the parking rules.
window['moment-range'].extendMoment(moment);

// The array of weekdays
const weekdays = ['Monday', 'Tuesday', 'Wednesday', 'Thursday', 'Friday'];
const parkingRules =  {
  ambulance: {
    // The ambulance can only park on weekdays...
    days: weekdays,
    // ...from 9pm to 3am (the next day)
    times: createRange(moment().set('hour', 21), moment().add(1, 'day').set('hour', 3))
  },
  'fire truck': {
    // The fire truck can obnly park on Saturdays and Sundays, but all day
    days: ['Saturday', 'Sunday']
  },
  car: {
    // The car can only park on weekdays...
    days: weekdays,
    // ...from 3am - 3pm (the same day)
    times: createRange(moment().set('hour', 3), moment().set('hour', 15))
  },
  bicycle: {
    // The car can only park on weekdays...
    days: weekdays,
    // ...from 3pm - 9pm (the same day)
    times: createRange(moment().set('hour', 15), moment().set('hour', 21))
  }
};

function createRange(start, end) {
  if (start && end) {
    return moment.range(start, end);
  }
}
Each vehicle in the parkingRules object has a days property with an array of days it can park and a times property that is a time range. To get the current time using Moment, call moment(). To create a range using Moment-range, pass a start and end time to the moment.range function.
Now, in the onDragEnter and onDrop event handlers we defined earlier, we add some checks to make sure a vehicle can park. Our alt attribute on the img tag is storing the type of vehicle so we pass that to a canPark method which will return if the car can be parked. We also added visual cues (change in background) to tell the user whether a vehicle can be parked or not.
function onDragEnter(event) {
  const target = event.target;
  if (dragged && target) {
    const vehicleType = dragged.alt; // e.g bicycle, ambulance
    if (canPark(vehicleType)) {
      event.preventDefault();
      // Set the dropEffect to move
      event.dataTransfer.dropEffect = 'move';
      /* Change color to green to show it can be dropped /*
      target.style.background = '#1f904e';
     }
    else {
      /* Change color to red to show it can't be dropped. Notice we
       * don't call event.preventDefault() here so the browser won't
       * allow a drop by default
       */
      target.style.backgroundColor = '#d51c00';
    }
  }
}

function onDrop(event) {
  const target = event.target;
  if (target) {
    const data = event.dataTransfer.getData('text');
    const dragged = document.getElementById(data);
    const vehicleType = dragged.alt;
    target.style.backgroundColor = '';
    if (canPark(vehicleType)) {
       event.preventDefault();
       // Get the ID of the target and add the moved element to the target's DOM
       dragged.style.opacity = '';
       target.appendChild(dragged);
    }
  }
}
Then, we create the canPark method.
function getDay() {
  return moment().format('dddd'); // format as 'monday' not 1
}

function getHours() {
  return moment().hour();
}

function canPark(vehicle) {
  /* Check the time and the type of vehicle being dragged
   * to see if it can park at this time
   */
  if (vehicle && parkingRules[vehicle]) {
    const rules = parkingRules[vehicle];
    const validDays = rules.days;
    const validTimes = rules.times;
    const curDay = getDay();
    if (validDays) {
      /* If the current day is included on the parking days for the vehicle
       * And if the current time is within the range
       */
      return validDays.includes(curDay) && (validTimes ? validTimes.contains(moment()) : true);
      /* Moment.range has a contains function that checks
       * to see if your range contains a moment.
         https://github.com/rotaready/moment-range#contains
        */
    }
  }
  return false;
}
Now, only cars that are allowed to park can park. Lastly, we add the rules to the screen and style it.
Here’s the final result:
See the Pen 3 – Can you park here? by Omayeli Arenyeka (@yelly) on CodePen.
There are lots of ways this could be improved:
- Auto-generate the HTML for the rules list from the
parkingRulesobject! - Add some sound effects!
- Add ability to drag back vehicles to original point without a page refresh.
- All those pesky global variables.
But I’ll let you handle that.
If you’re interested in learning more about the DnD API and some critiques of it, here’s some good reading:
- WHATWG Specification
- Working with HTML5 Drag-and-Drop – Pro HTML5 Programming, Chapter 9, by Jen Simmons
- Accessible Drag and Drop Using WAI-ARIA – Accessibility considerations from Dev.Opera
- Native HTML5 Drag and Drop – HTML5 Rocks tutorial
- The HTML5 drag and drop disaster – QuirksMode post with helpful context on the DnD module implementation

This is a great tutorial, thank you
thanks!
Hi Yeli and others,
Indeed good to read every now and then something you did’nt know yet. And as reading without experimenting is like swimming without water, I’ve tested some possibilities. Straight forward (dropping only one vehicle in the parking): no problem.
When I was trying to get more vehicles in the drop zone building, the situation was growing more complex.
Under Win7 on PC I encountered some browser differences and (for me) strange phenomena in the CodePen #2. The sizes and proportions (proportial/not proportional) of the dropped images diverge. – Dropping above an existing dropped vehicle does disappear one of them. – And a disappeared vehicle (according to the developers tool: removed from the html-DOM as well) can be brought back (!) by dragging and dropping the existing verhicle again, to another place in the drop zone. The hocus pocus should be somewhere in the script; being not a javascript hero, I don’t see how.
To improve the example, I made some extended Pen’s in which repeated dropping is allowed, browser differences are neutralized, and cars and bikes don’t disappear anymore. Of course there are lots of other CSS/JS possibilities to get similar results – the playgarden is open. :-)
The complete discovery voyage (with some screen recording illustrations and links to the forked new Pen’s) can be read over here: clba.nl/testing/parking
Greetings,
Francky
Hi Francky, only got a chance to skim so far but thanks so much for this! I already learnt a lot. It’s very interesting trying to figure out differences across browsers and devices. Will go through the whole thing soon :)